


Jeep dash USB power port
- Jun 26, 2018
- 2 min read
I recently installed the Rugged Ridge Dash Multi-Mount Kit in my 2011 Jeep Wrangler. I mount my GoPro onto the camera mount screw to record offroad shenanigans and then mount my phone in the grip. Shortly after installing the RR mount, I wanted to convert the phone grip over to wireless charging. I bought an iOttie Qi car charger hoping that the ball mount would work with the Rugged Ridge piece, and luckily it does. It's a perfect match. For a week or so, I plugged the iOttie mount into an adapter in the lower dash 12 volt power port, but I knew there was a better, cleaner way.
After some experimentation with other solutions, I found one that fits well and doesn't require a lot of dash drilling or modification. The AUKEY Car Charger is a very slim design and puts out 2.4 Amps from each of the two USB ports.
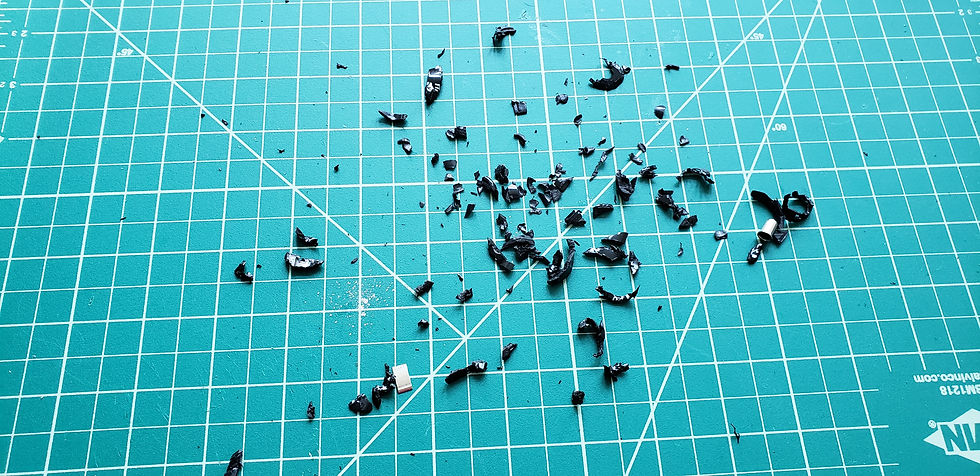
The first step was to strip off all of that pesky plastic housing so I could get to the electronics inside to hard-wire them. Here's the mess I made cutting it up.
And the results:

My original plan was to solder the +12v feed onto the spring that contacted the tip in the housing and then slip a spade connector onto one of the ground contacts on the side.

The problem was that the +12v spring was really soft and flimsy. I don't think that connection would have survived long. Also the spade connector on the side really added a lot of bulk to the whole piece. Plan B (and the one I stuck with) was to clip the spring and solder to its solder pad. There was also an existing solder joint on the ground housing for the USB ports, so I used that for my ground lead. Here is the final connection:

I designed a bezel to mount the Aukey charger onto the compound curve of the Rugged Ridge pod. The design file is available for free on Thingiverse. I used the opening in the 3D printed bezel to mark the hole pattern onto the RR part and cut it out. I glued the bezel on with some 2-part epoxy.

The tray that lines the bottom of the dash storage bin needed to be trimmed just a bit so it would fit past the new bezel. I marked the cut lines, trimmed it with an hobby knife, and it fits great.


The aukey charger was glued into the bezel with some super glue around the perimiter, and then I added some hot-melt glue from the back side to further lock it in place and to help stabilize the wiring so it doesn't vibrate loose over time and cause a short.
The last step was to drill a very small hole in the dash to run the wires through.


The power wires run down behind the glove box and connect into a mini fuse block and ground terminal strip that is powered via relay off the battery. I'll write a new article pretty soon about adding that extra power circuit.
“We are a participant in the Amazon Services LLC Associates Program, an affiliate advertising program designed to provide a means for us to earn fees by linking to Amazon.com and affiliated sites.”
Comments